How To Create and Update Global Sections
Global sections are a highly efficient way to maintain consistent elements, like headers or footers, across multiple pages of your website. This eliminates the need for repetitive updates and ensures uniformity throughout your site. In this guide, you'll learn how to create, save, and add global sections.
Part 1: How To Create And Save Global Sections
Navigate to the Builder:
Open the website builder where you can customize sections for each page.
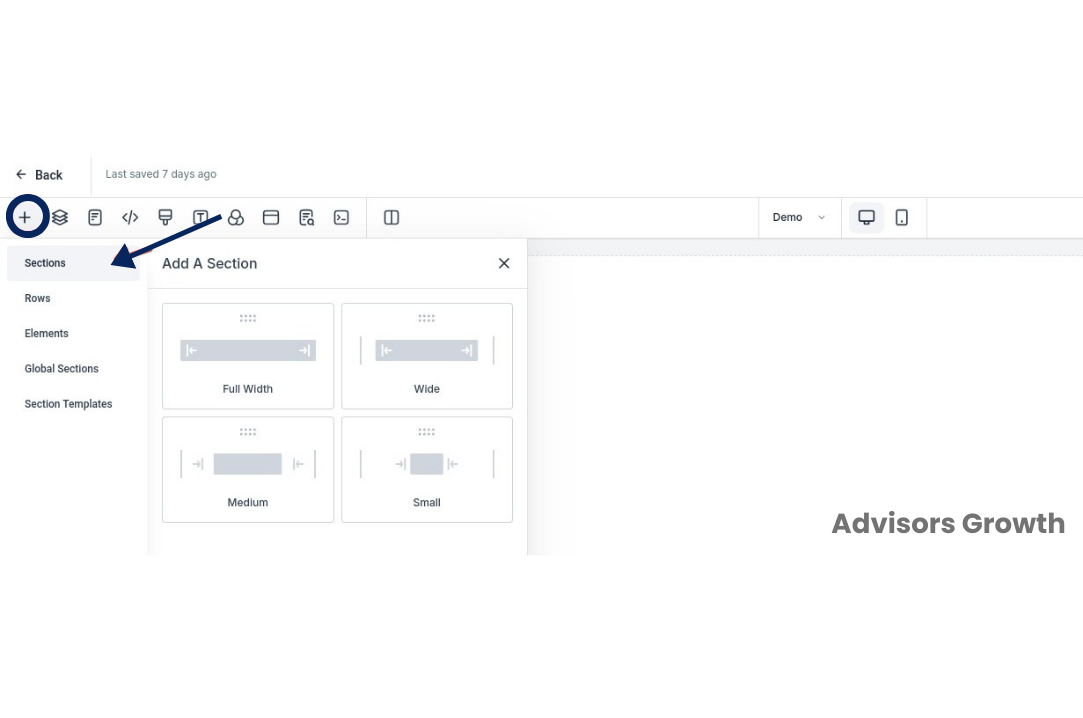
Add a Section:
Click on the + icon located at the top left of the builder interface.
Select and add a section.
Edit the Section:
Customize the section as needed by adding columns, rows, and elements.
Save the Section as Global:
Navigate back to Section by clicking on the layers icon.
Select the section you just created.
Click on the three dots next to the section and choose Save Section.
Name the section and save it as a Global Section.

Part 2: How To Add Your Previously Saved Global Section
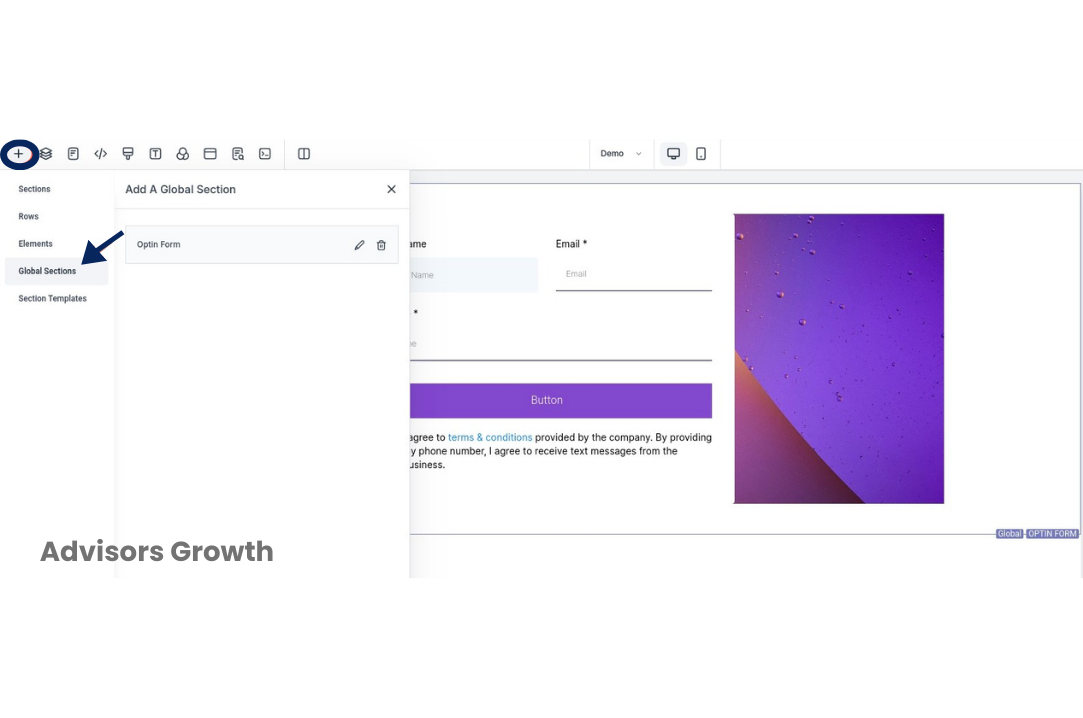
Add the Global Section:
Click on the + icon to open the section options.
Choose the Global Section you previously saved.
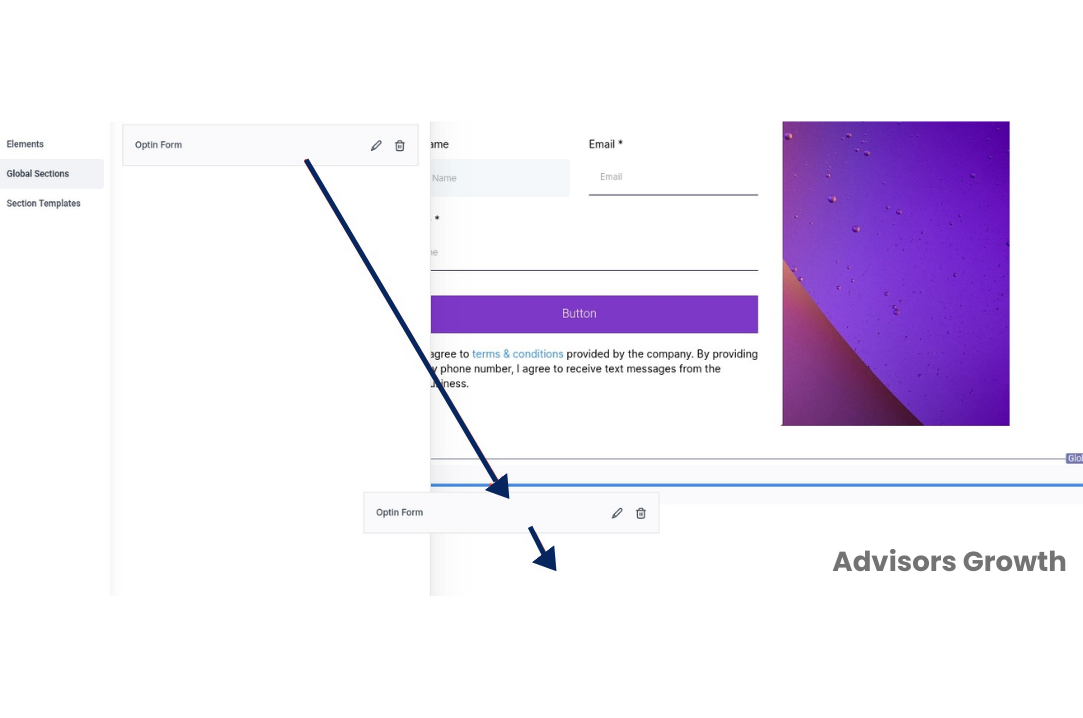
Insert the Section:
Click, drag, and drop the global section into the desired location on your page.
Save the Page:
Ensure you save the changes to your page.
Important Note:
The global section needs to be added to each page where you want it to appear.
Any updates made to a global section will automatically update that section across all pages where it has been added.
By following these steps, you can efficiently manage and update sections across your website, ensuring a cohesive and streamlined design.