
How to Add an Order Form to a Funnel or Website
In this guide, you will learn how to add an order form to a funnel or website.
Requirements:
An order form (either one-step or two-step, depending on your needs)
A funnel with a funnel step or a website with a website page
Integrated payment gateway and created products
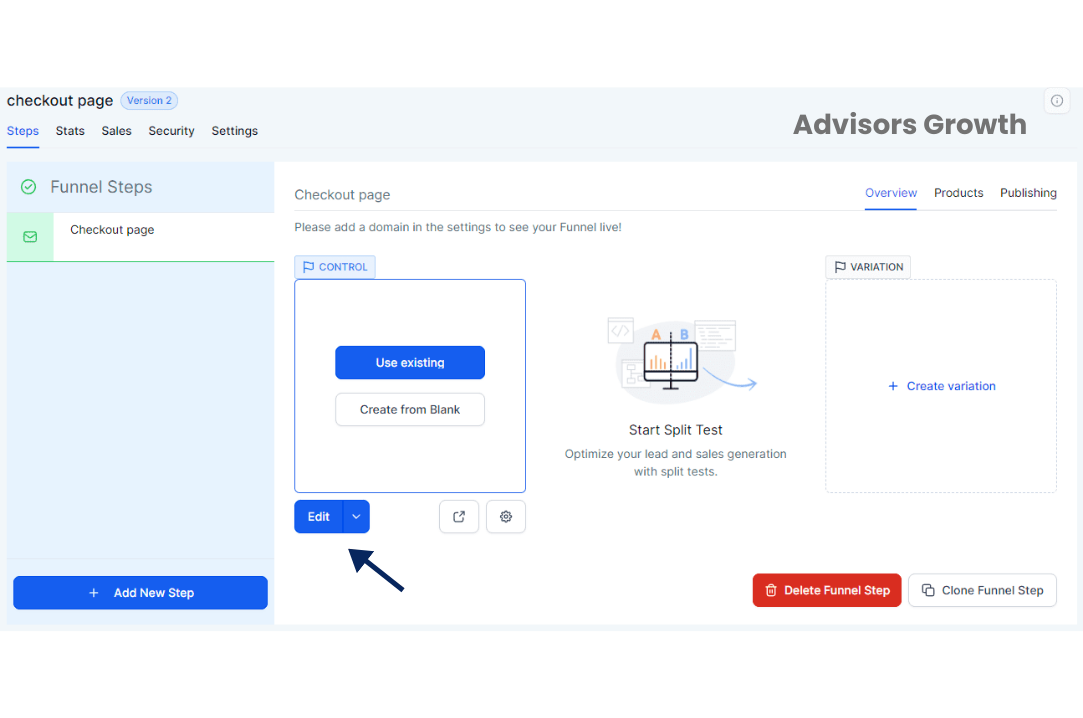
Step 1: Editing Your Funnel or Website Page
Navigate to Sites > Funnels or Websites.
Click on the funnel or website where you want to add your order form.
Select "Edit Page" or "Edit in a New Tab" on the page you want to edit.
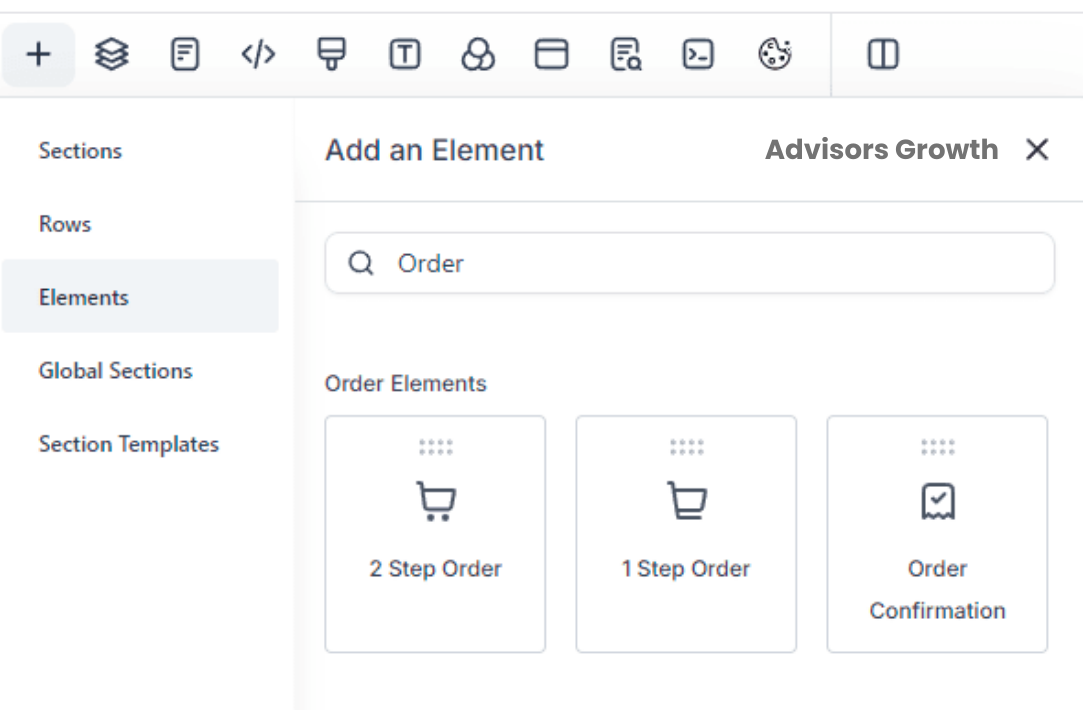
Step 2: Adding the Order Form
Select Add Section > Add Row > Choose the number of columns you need.
Select Add Element, then scroll to the Order Elements on the right side menu.
Select either the one-step or two-step order form.
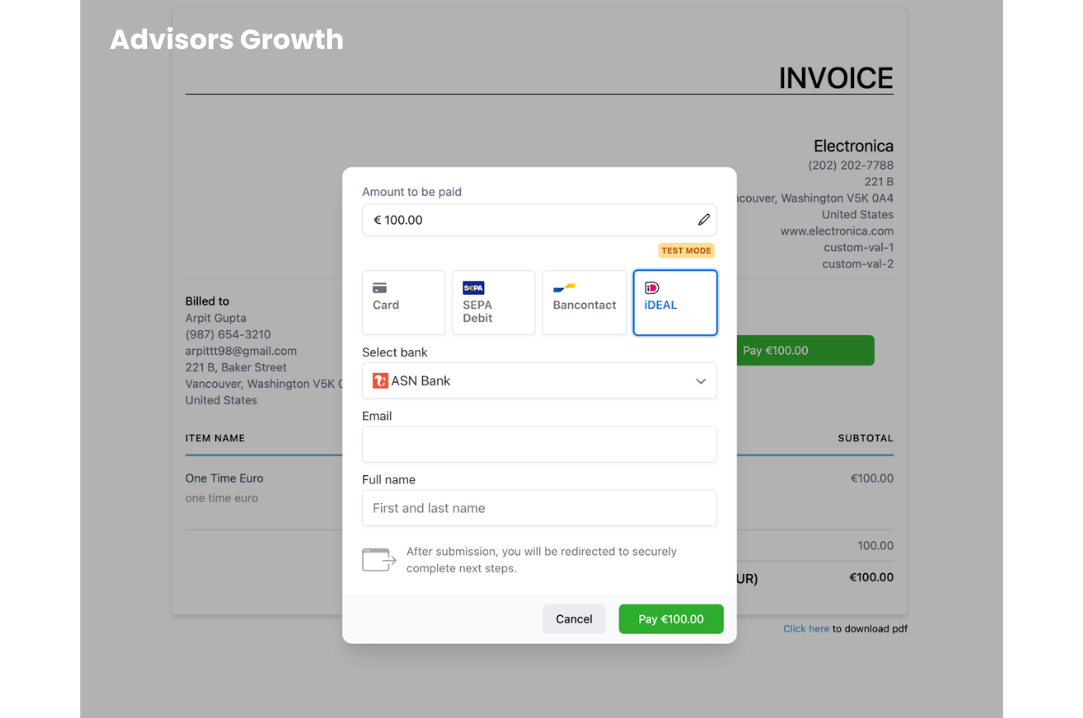
Note: Businesses using Stripe can now offer additional payment methods such as:
iDEAL (popular in the Netherlands)
Bancontact (common in Belgium)
SEPA Direct Debit (common in the European Union)
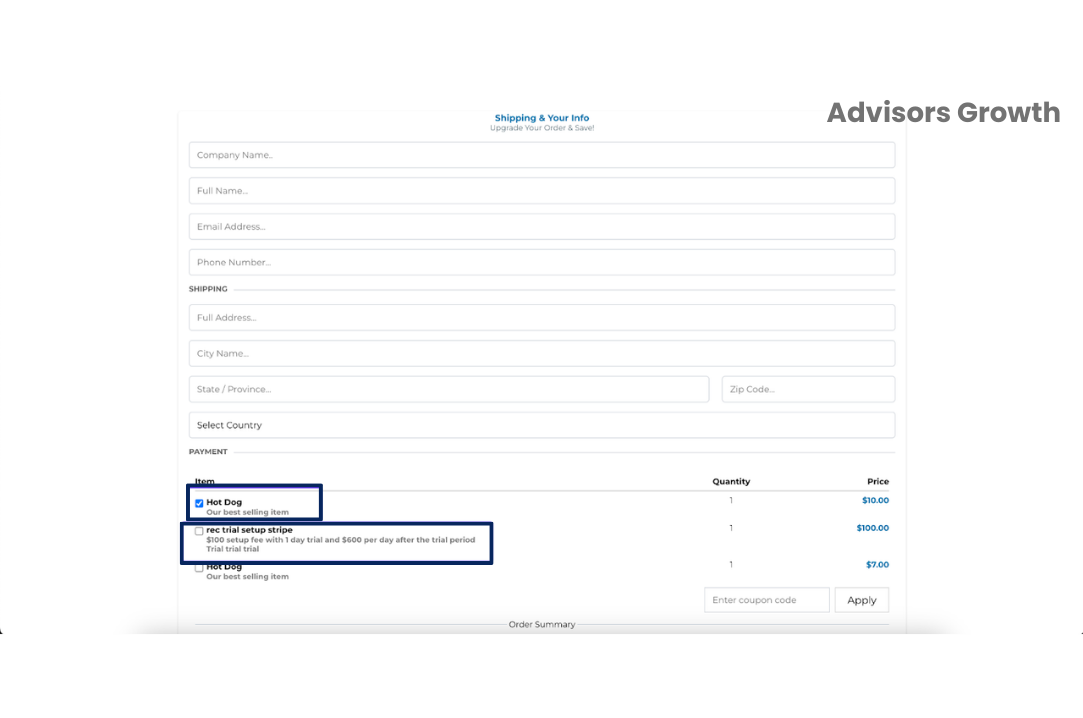
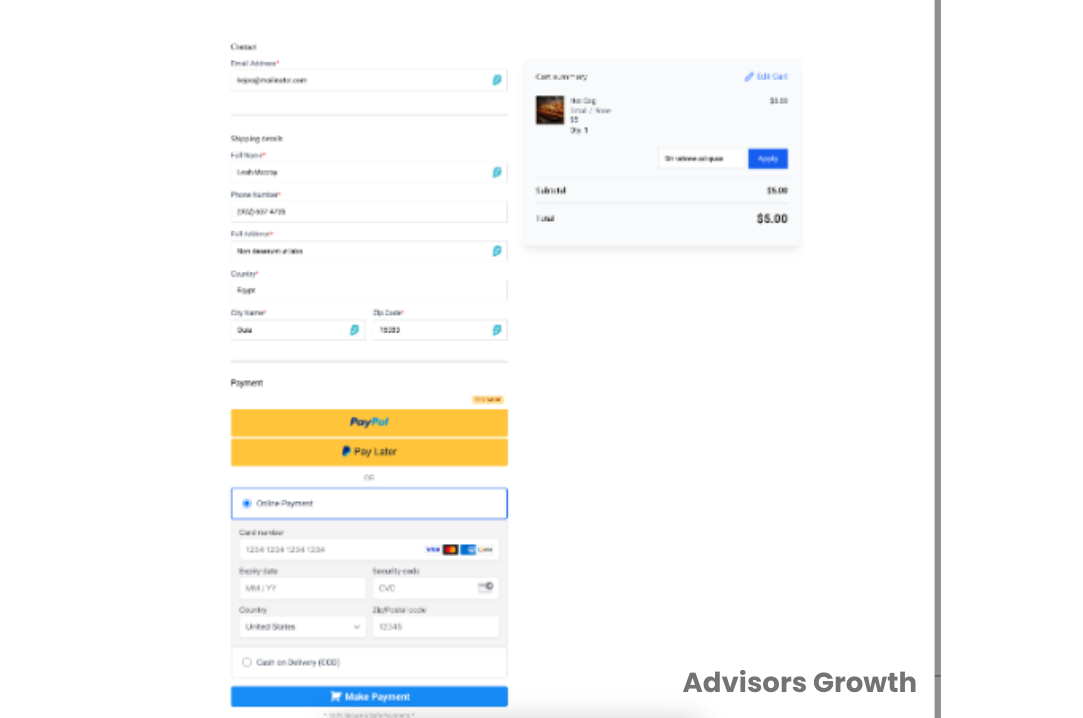
Step 3: Customizing Your Form
When you click on the order form element, a menu will pop up on the left side. Here, you can customize your form details:
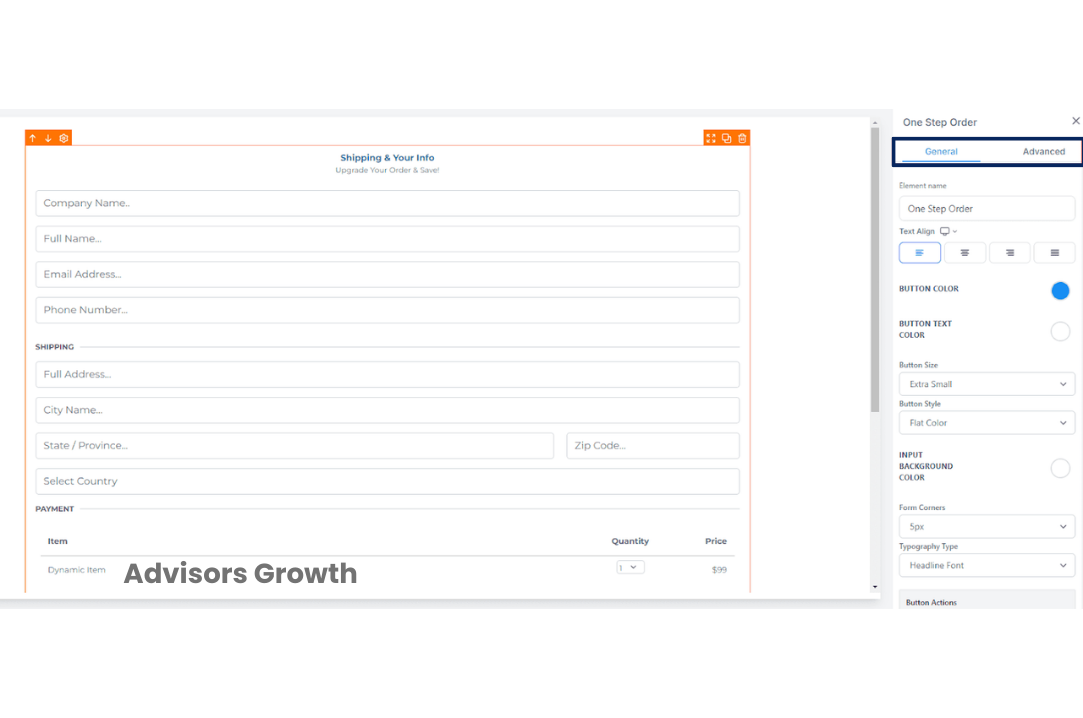
General Settings:
Title
Text alignment
Button style, size, and color
Button action
Typography type and corners
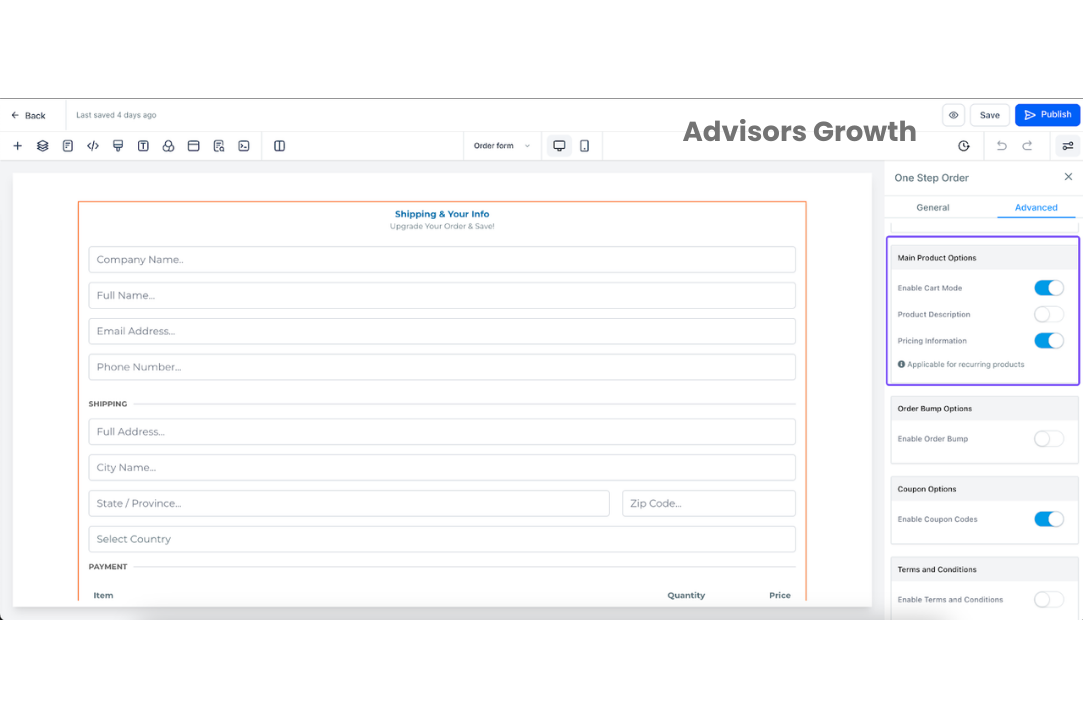
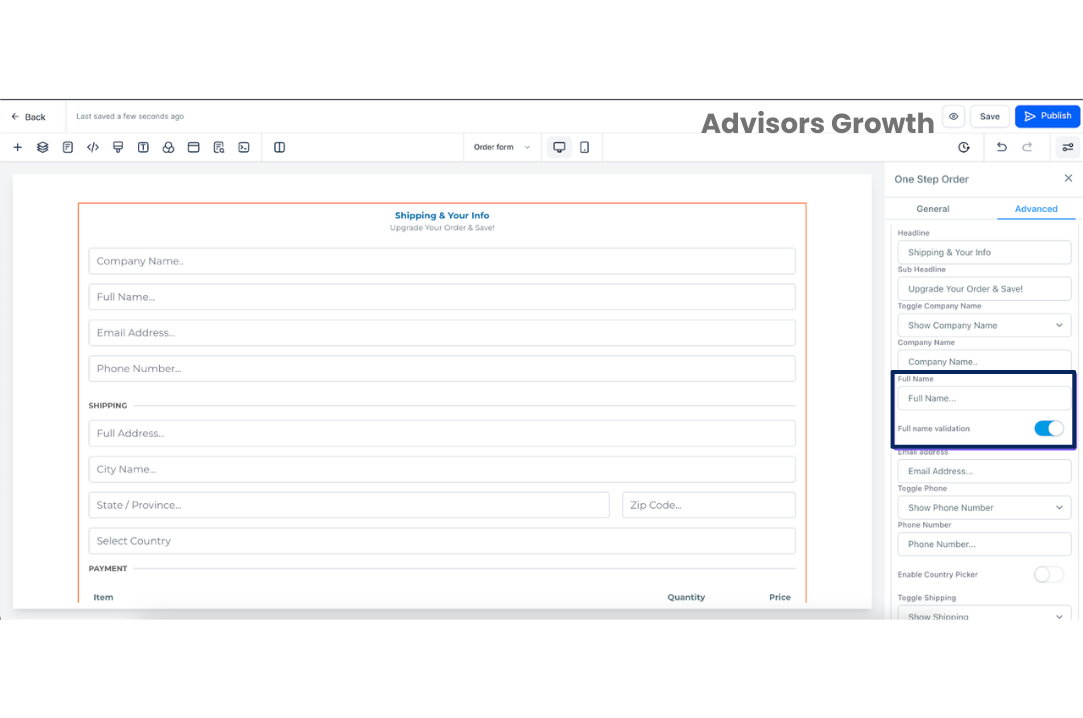
Advanced Settings:
Headline
Subheadline
Company name (option to hide)
Full name
Email address
Phone number (option to hide)
Shipping (option to hide)
Payment headline, price text, summary price text
Button text
Footer text
Enable/disable Cart Mode and Product Description
Enable/disable order bump option
Enable/disable coupon codes
Enable/disable Sticky Contact
Enable/disable New Contact on every purchase
Validate disposable email
Visibility
Additional Features:
Product description view: Allows users to show their customized descriptions in order forms.
Full Name validation toggle: Enables forms to validate entered names.
Note: You can only customize the order form using the provided settings. Adding or removing fields is not possible as these forms are aligned with payment processors.
Step 4: Save Your Changes
Once you have customized your form, save your changes.
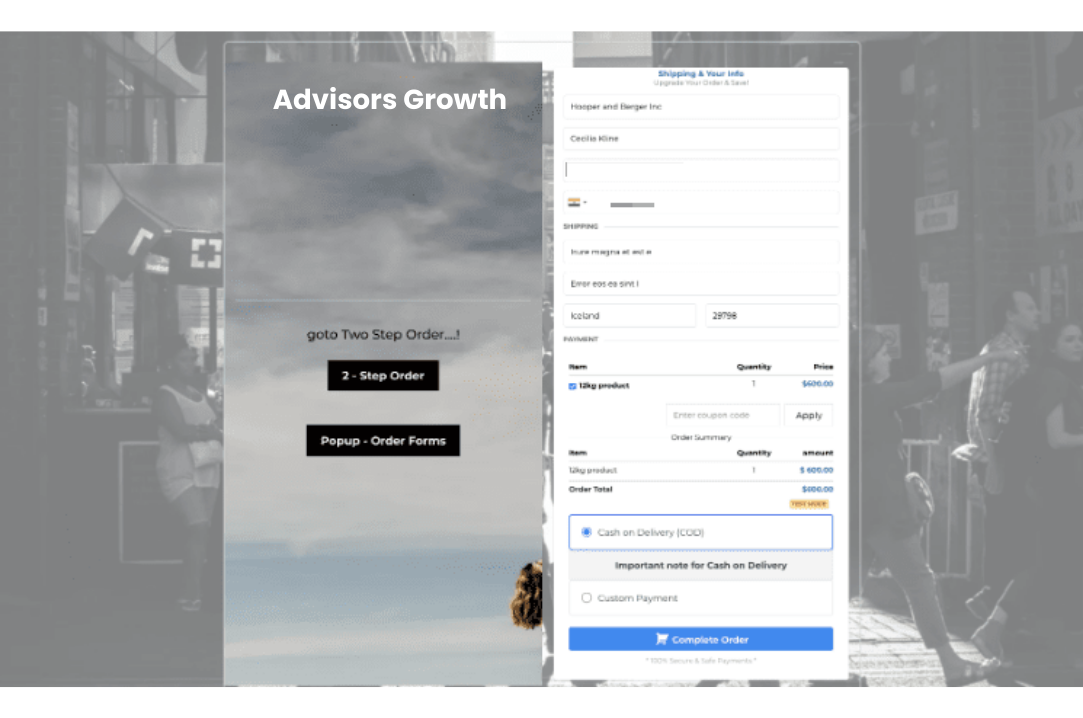
Manual Payment Method in E-commerce Stores
Manual payment allows customers to complete the checkout process online but make the actual payment offline. This feature is useful for businesses that prefer handling transactions in person. Here's how to set it up:
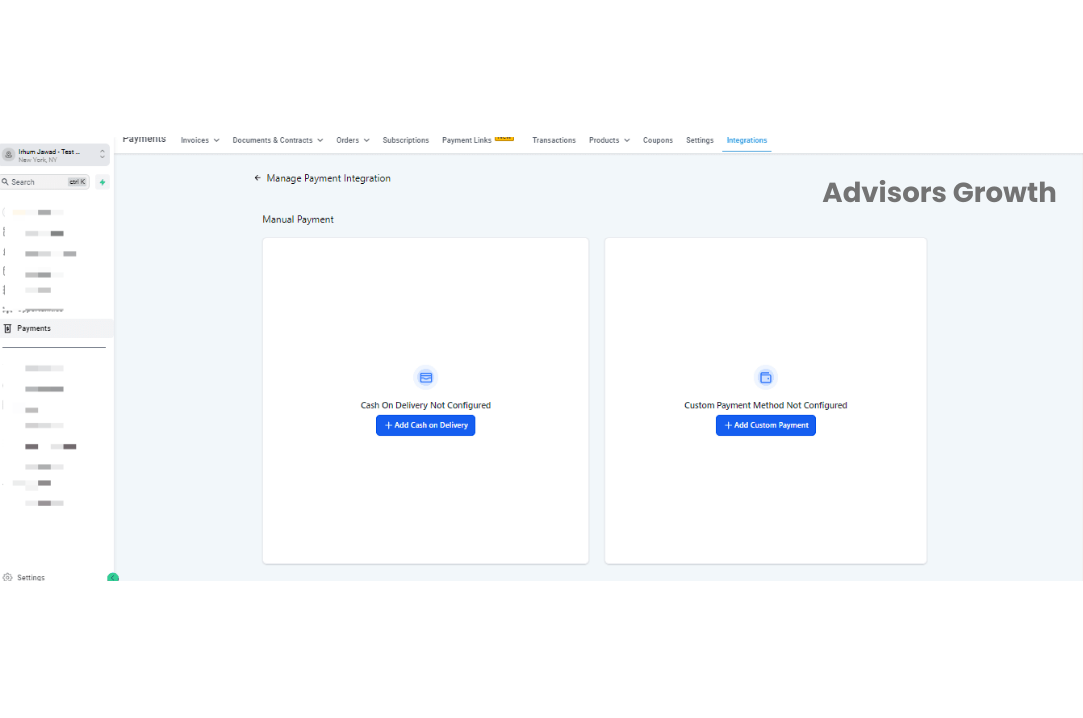
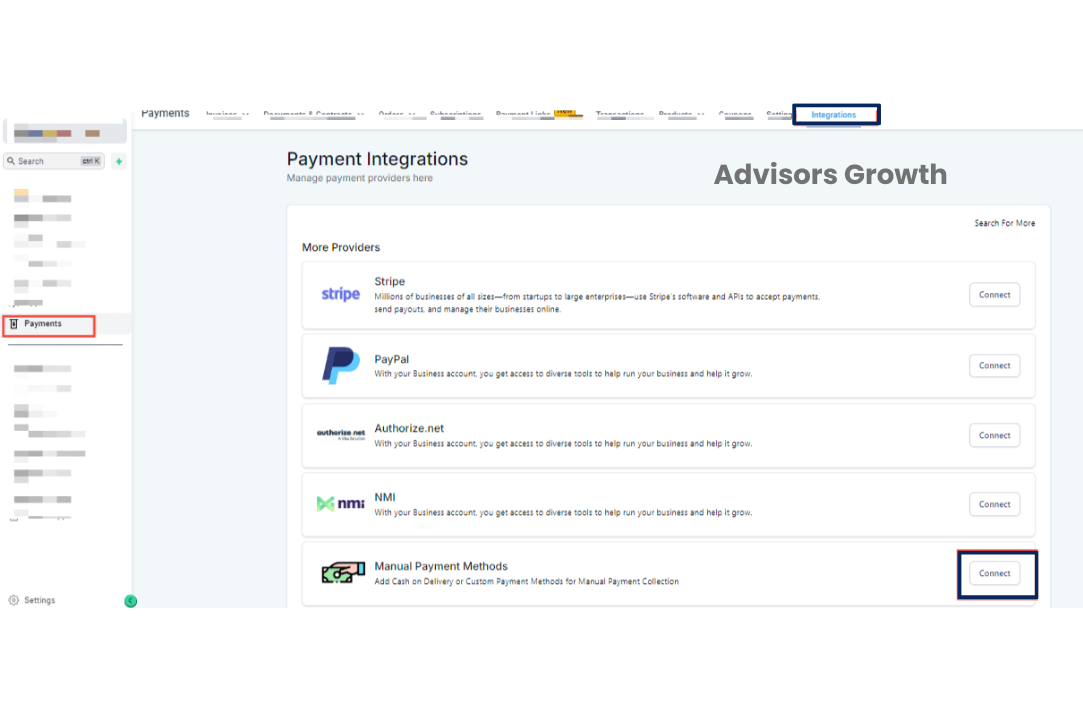
Step 1: Navigate to Payment Integrations
Go to Payment > Integrations > Manual Payment Methods.
Set up your manual payment options.
Step 2: Choose Your Payment Method
Select Cash on Delivery or create a Custom Payment Method that suits your business needs.

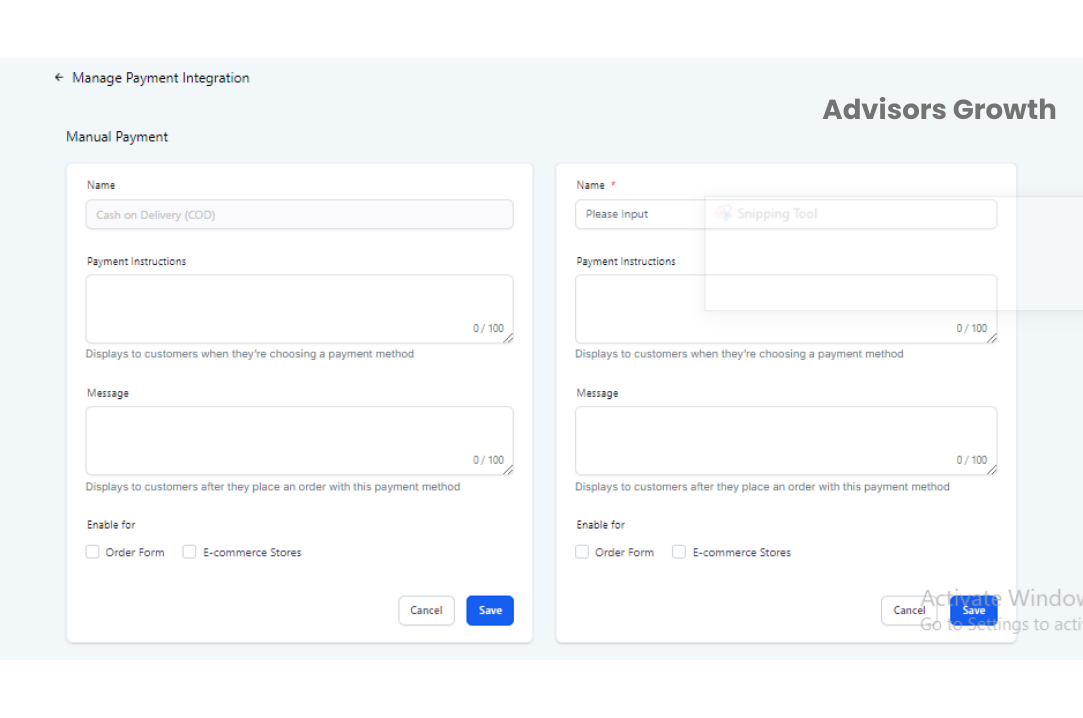
Step 3: Add Payment Instructions
Provide clear instructions for customers on how to complete their payments. This information will be displayed during checkout.
Step 4: Enable Manual Payment Methods
Ensure that manual payment methods are enabled for either the Order Form or E-commerce Stores. These options will only appear at checkout if enabled.
Step 5: Save Your Changes
Click Save to apply the changes and make the manual payment options available to your customers.
Using Manual Payment Methods
After setting up manual payments, manage orders and collect payments as follows:
Collect Payment Flow
After receiving an order, record the collected payment by navigating to Payment > Orders > Select the Order > Collect Payment.
Specify the mode of payment and add any relevant notes.
Updating Transaction Status
Once the payment is marked as paid, the transaction status will be updated with the mode of payment for accurate tracking and management.
Important Notes:
You can set up COD and Manual Payment Methods independently, without needing to set up an online payment method.
Manual payment methods won't appear at checkout if a recurring product is part of the order.
The collect order flow applies only for manual payment method orders. Once marked as paid, it cannot be reverted.
Manual payment methods must be enabled for either e-commerce stores or order forms to appear on the checkout page.
Store owners can set up both Cash on Delivery and Custom Payment Methods simultaneously.
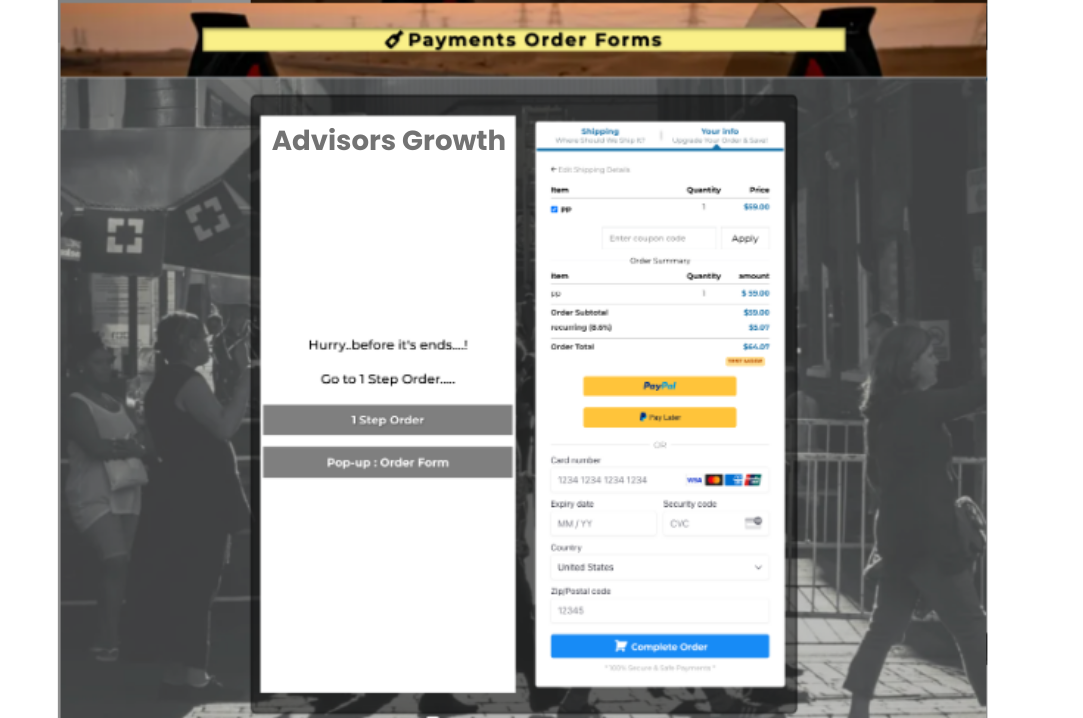
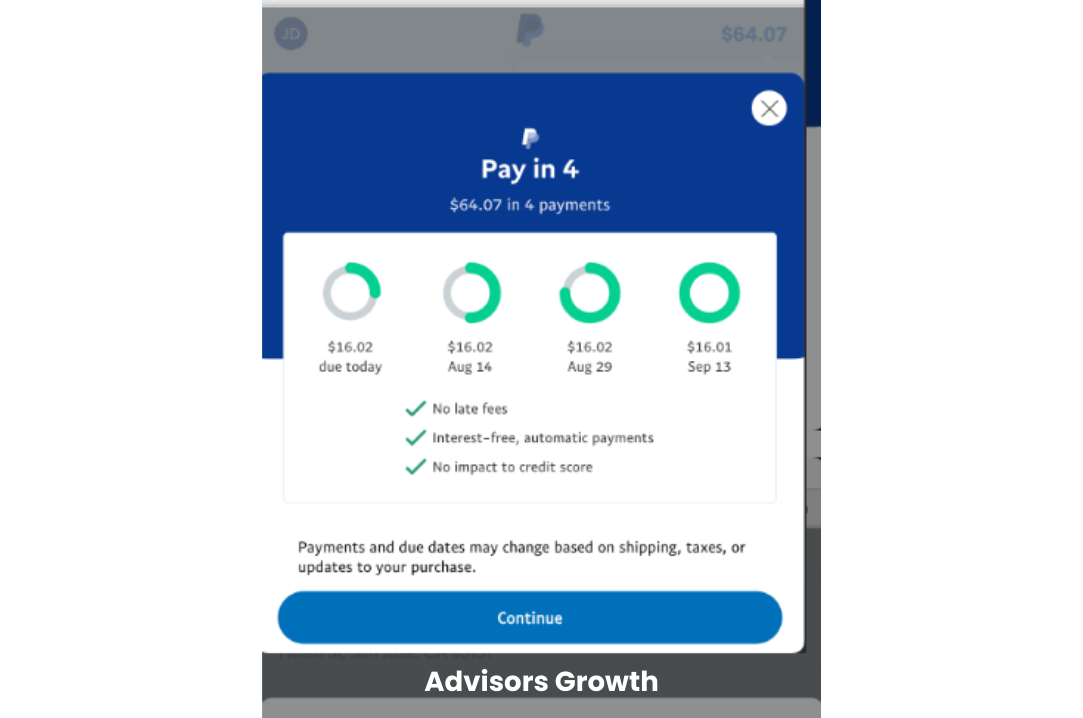
Using PayPal Pay Later
PayPal Pay Later is a payment option for order forms and online stores, available for one-time purchases only (not for recurring products). The Pay Later button will appear below the PayPal button during checkout, helping to increase conversions.
Applicable For:
Both one-step and two-step order forms, as well as upsell purchases.
Availability:
Only for one-time purchases, not for recurring products.
Display:
The Pay Later button will appear below the PayPal button during checkout.
Note: Check out specific gateway vendor articles for more details on vendors. Multiple Buy Now, Pay Later (BNPL) options can be integrated under Payments > Integrations.