Funnel and Funnel Builder Overview
Here's an overview of the funnel section, as well as the funnel builder where you can customize your funnel steps/pages.
Step 1: How to Navigate To and Utilize the Funnel Section
Accessing Funnels:
Navigate to the Funnels section. Here you can view a list of your existing funnels or click the blue button to create a new funnel.
Creating a New Funnel:
Once you create a new funnel, you have to add a step. Each step is an actual page. You can also import pages from ClickFunnels if desired.
Setting Up Your Funnel:
Use the different tabs to set up your funnel:
STEPS: View all your funnel steps or pages.
OVERVIEW: Edit or preview your funnel step.
PRODUCTS: View the products associated with the funnel page.
PUBLISHING: Update the step name and path, also known as the slug.
STATS: View statistics for your funnel, like traffic over a season or time range.
SALES: This is deprecated. All transactions can be found in Payments > Orders and Transactions tabs.
SETTINGS: Update the name, path, domain, and Favicon URL (the small icon that shows up in the web browser tab). You can also include head and body tracking code scripts that run on each funnel step, like analytics or other features.

Step 2: Using the Funnel Builder To Create and Edit a Page
Customizing Each Step:
Within the funnel builder, you can completely customize each step. From adding a calendar or map, to choosing fonts and colors, creating pop-ups, and more, you can choose exactly what your funnel steps look like.
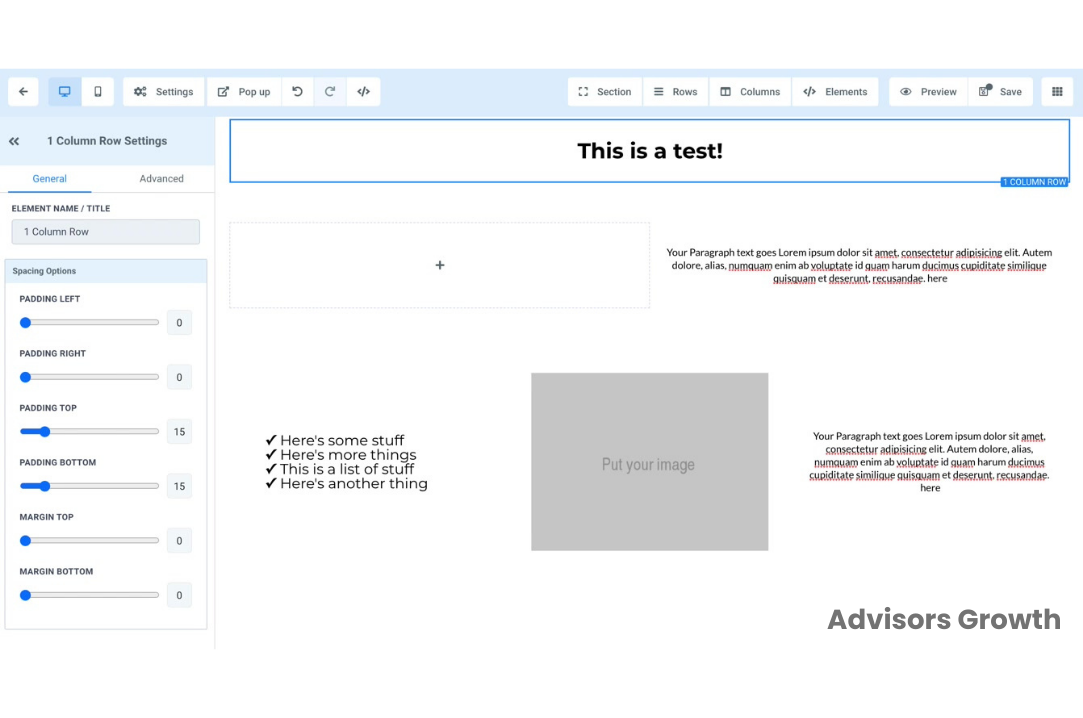
Building the Page:
Each page is made up of the following pieces: Sections, Rows, Columns, and Elements. They need to be created in that order. Sections can house multiple rows, rows can house multiple columns, and columns can house multiple elements.
Use the drag-and-drop features to add sections, rows, columns, and elements to the builder. Use the edit menu on the left-hand side for each specific piece to customize it as you wish.
Preview and Save:
Preview the page in its entirety to see what it will look like for your customers.
Be sure to save any changes before leaving the builder to confirm the updates you've made.
Pro Tips for Using the Builder
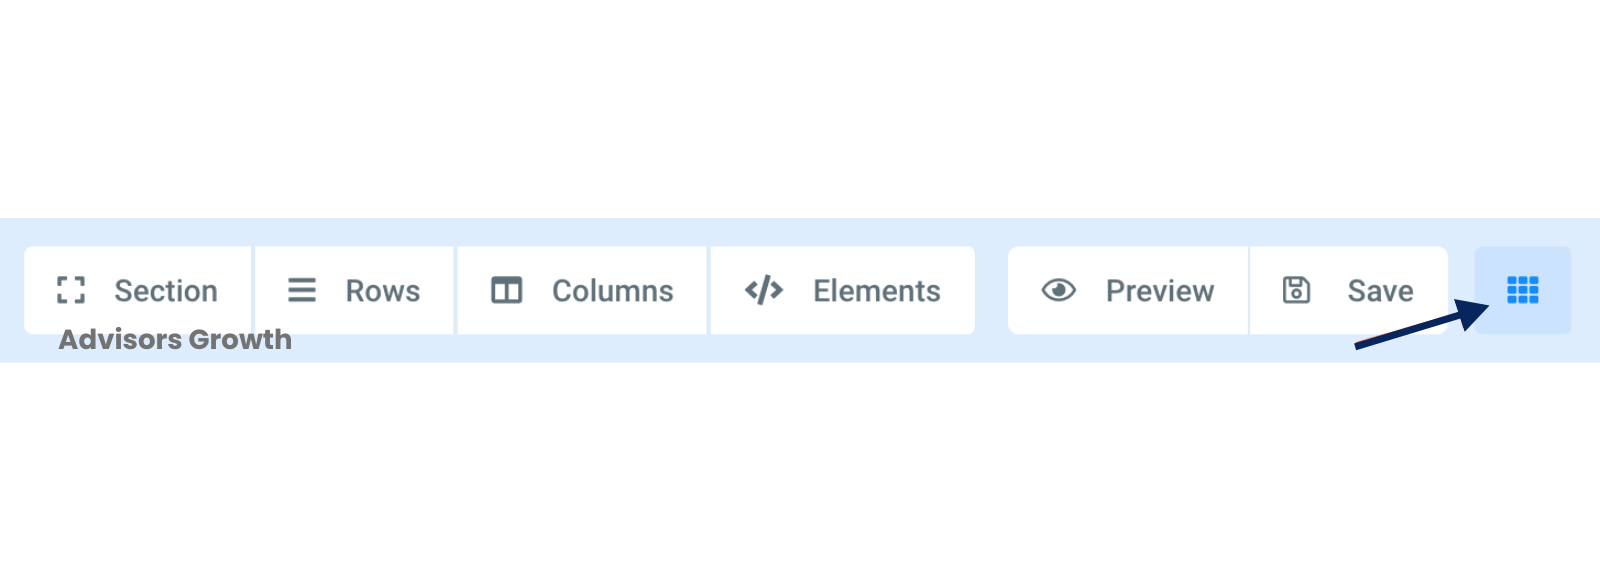
Navigate from Page to Page:
Use the icon with 9 dots in a square at the top right to go from page to page within the builder.
Set a Redirect Action:
In the builder, you can set a redirect action on a form, survey, button, calendar, etc. This allows you to control the flow of user interactions within your funnel.
By following these steps and tips, you can effectively utilize the funnel section and builder to create and customize your sales funnels and website pages.